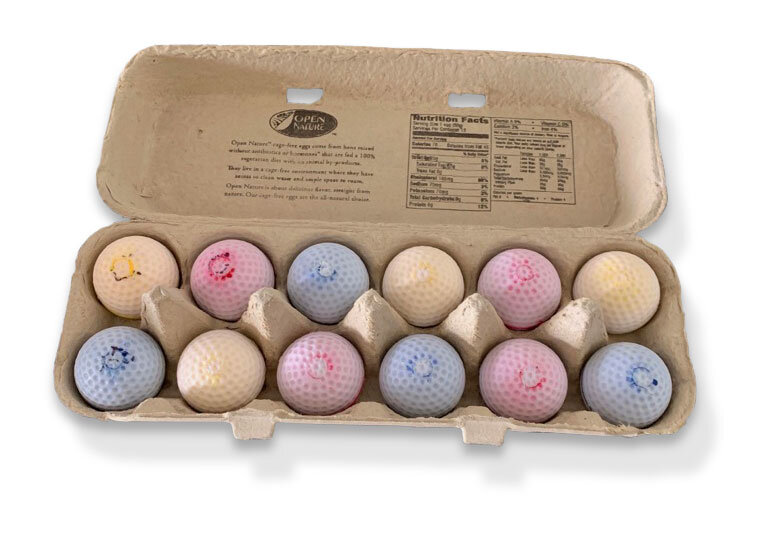
Can you paint golf balls? Absolutely! It’s a great way to add a personal touch and make your balls stand out on the course. With proper preparation and the right painting techniques, you can customize your golf balls to reflect your unique style. This article offers easy step-by-step instructions on how to paint golf balls, along with helpful tips to ensure successful and lasting results.
Table of Contents
How to Paint Golf Balls
Follow these key steps on how to paint a golf ball:
Step 1: Prepare
Start by gathering your painting supplies:
- Golf balls – Use cheap used balls for practice before moving onto new balls
- Acrylic craft paints – Acrylic paint works best for coating golf balls
- Paint brushes – Get a few small brushes for adding details
- Clear coat spray – Use a clear enamel to seal the painted design
- Sandpaper – Lightly sand balls so paint adheres better
- Paper towels – For drying balls and cleaning up messes
- Newspaper or plastic sheet – To protect your work surface
Cover your work area with newspaper or a plastic sheet to protect from paint spills. Work in a well-ventilated area when spraying sealant.
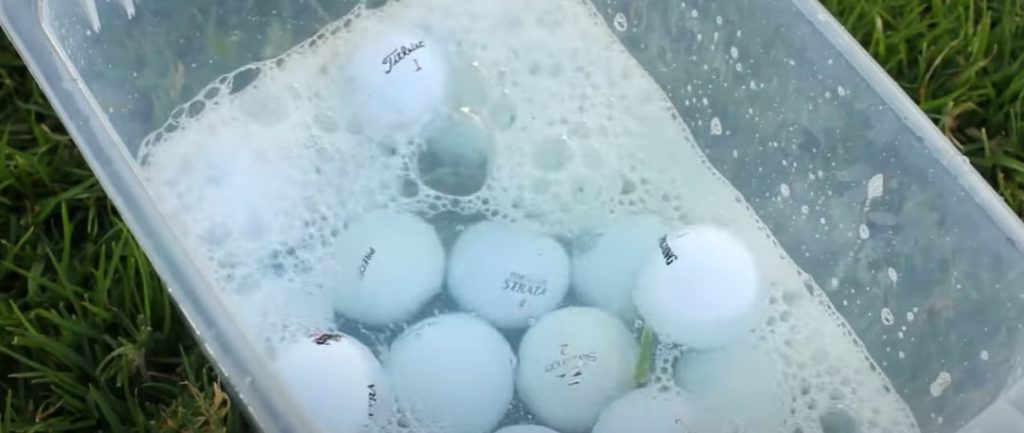
Step 2: Clean the golf balls
Wash used golf balls with mild dish soap and warm water to remove any dirt or oils. Use a soft brush or cloth to scrub. Rinse thoroughly and let air dry completely. Wipe with rubbing alcohol to further prep the surface.
Step 3: Roughen the surface
Use 220 grit sandpaper to lightly scuff up the exterior coating of the golf balls. This helps the paint adhere better to the smooth surface. Avoid sanding too aggressively. Wipe sanded balls with a solvent like alcohol to remove dust.
Step 4: Paint a coat of primer
For the most durable finish, start by spraying balls with a thin coat of plastic primer spray. Allow to fully dry before painting. The primer promotes better paint adhesion.
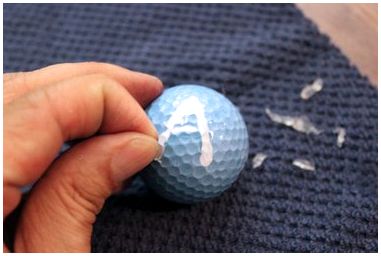
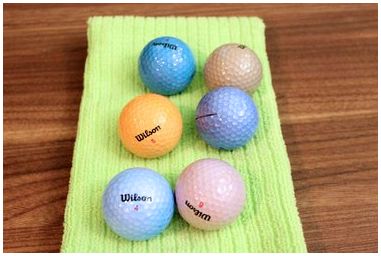
Step 5: Paint the main color
Apply 1-2 base coats of acrylic paint in your chosen color to fully cover the ball. Allow to dry fully between coats. Use light brush strokes following the ball’s shape. Add darker accents, designs, or details with acrylic paint pens.
Step 6: Glossy paint
Finish with 1-2 coats of clear acrylic gloss spray paint. The glossy topcoat protects the design from scratches and wear. Avoid blotchy drips by spraying lightly in smooth back-and-forth motions.
Step 7: Dry the golf ball
Allow painted golf balls to dry completely for 24 hours before use. The paint, primer, and gloss coat needs proper curing time to harden fully. Avoid playing with freshly painted balls.
How to Dye Golf Balls With Food Coloring
For a quick and easy coloring method, you can dye white golf balls using standard liquid food coloring. Here’s how:
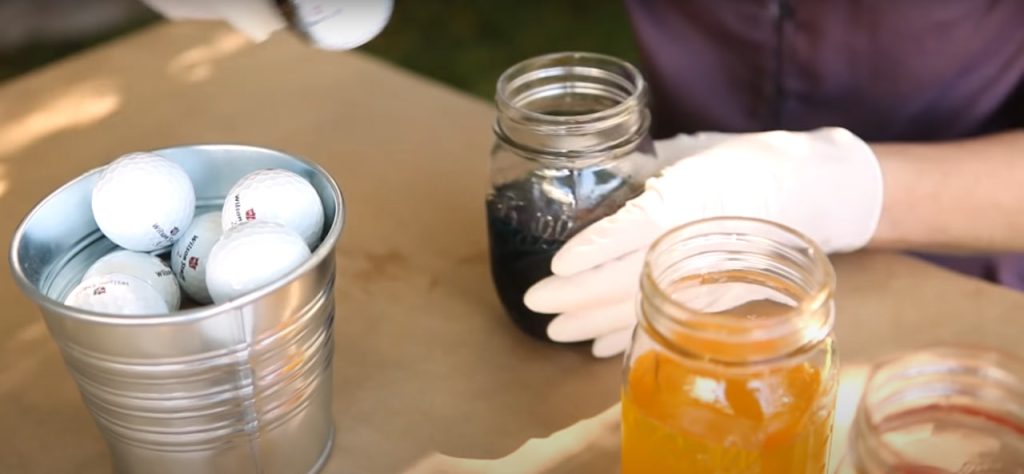
Step 1: Prepare
Wash used white golf balls with soap and water. Rinse and dry fully. Cover work surface with newspaper or plastic sheeting. You’ll also need:
- White golf balls
- Small bowl
- Liquid food coloring
- Teaspoon for mixing
- Pair of rubber gloves
- Paper towels
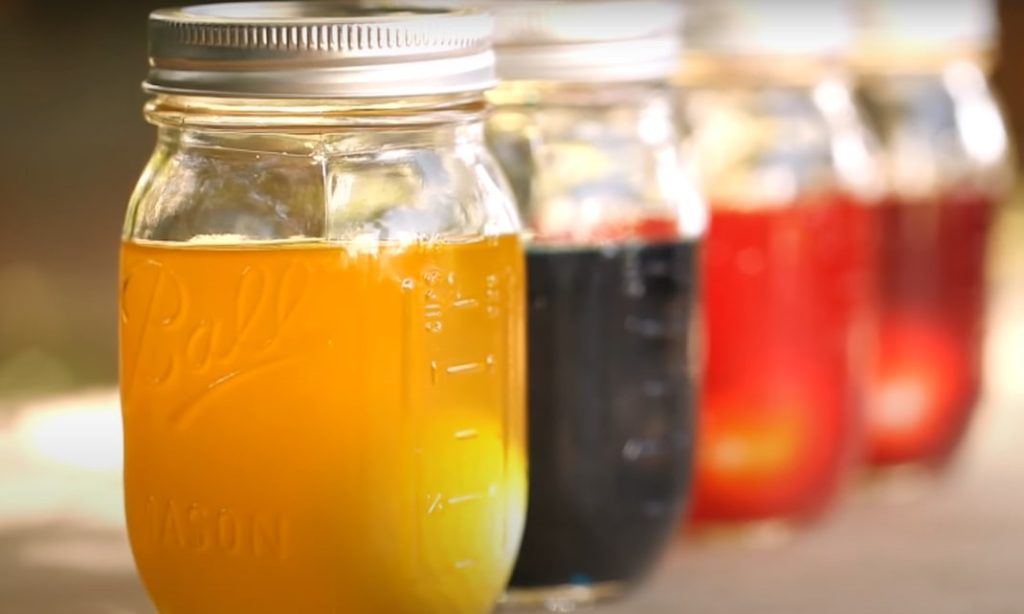
Step 2: Prepare the color
Wearing gloves, place 1-2 teaspoons of food coloring into a small bowl. Add 2 tablespoons of warm water and stir to dilute the color. Add more coloring for deeper shades.
Step 3: Dyeing
To use golf ball paint effectively, fully immerse the ball in the diluted color solution for 30-60 minutes, longer soaking times yield more vibrant colors. After soaking, remove the ball and pat it dry with paper towels. To enhance durability and give it a professional finish, apply a layer of clear gloss spray paint as a protective coat.

Notes to Know When Painting Golf Balls
Follow these tips when painting your golf balls:
- Acrylic craft paint works best on balls and withstands impact. Avoid using enamel paints which can chip.
- Limit paint coats to 1-2 thin layers. Thick paint can flake off and alter ball flight.
- For crisper lines, use painter’s tape to mask off sections. Remove tape after painting before the layer dries.
- Paint in a well-ventilated area and avoid inhaling spray sealants.
- Allow proper drying time between coats. Rushing the process can ruin the paint job.
- Putting a small dot with a permanent marker before painting helps you align designs.
- Test out a few practice balls first to ensure the paint does not affect performance.
Conclusion
To paint golf balls is a fun and creative way to personalize your game and make your balls easily identifiable on the course. By using basic acrylic paints, various brushes, and a reliable sealant, you can craft custom designs that truly reflect your personality. It’s important to properly prepare the balls before painting and apply a protective gloss finish afterward to ensure durability. It’s also wise to test a few painted golf balls to confirm that the paint does not adversely affect their performance. Once you’ve perfected your technique, don’t hesitate to show off your unique painted golf ball creations to your golfing buddies!

I’m Heorhii Rysak, a go-to sports enthusiast and blogger. My fascination with sports began in my childhood with karate, setting the foundation for my love of physical fitness. Over the years, I’ve delved into various disciplines, including martial arts and CrossFit, and developed a passion for tennis. I bring a wealth of practical experience to my blog, where I share equipment reviews, workout plans, and fitness advice. My goal is simple: to inspire and assist you in your journey toward better health and performance.